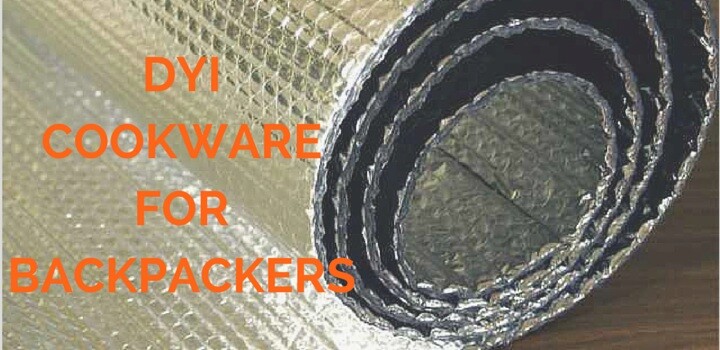
DIY Cookware for Backpackers
As we all know, outdoor gear and accessories can be expensive and cookware is no different. If you have the time and are willing to put in just a bit of effort, you can easily make a stove, pot cozy, and windscreen – all the necessary components of a great cookware set! Below you will also find instructions on how to make your own dehydrated food, a great DIY activity that will keep your pack light, your belly full, your body health, and your cookware busy! Don’t’ worry, these do-it-yourself projects below do not require much skill. You might even have the materials lying around the house. Your efforts will not be in vain when you enjoy your first warm meal from your effective and efficient DIY cookware set.
1. Super Cat Stove
This alcohol stove is efficient and light. You can make this gem from a cat food can or soda can. This stove uses denatured alcohol as a fuel source.
What you will need:
3 oz. can of cat food
Handheld single hole punch
How to make:
- Empty out and clean your cat food can.
- Punch holes just right underneath the lip of the can, leaving space between the holes. The space between the holes should only be a bit bigger than the holes.
- Next, punch holes right below your first row of holes but in between the spaces you left in the top row. You should have two rows of holes and the holes should be staggered.
How to use:
- Fill your stove with denatured alcohol up to the holes but not too much that the alcohol spills out of the holes.
- Light your stove with a lighter or match by swiping the flame on the alcohol through one of the holes. Be careful with this.
- Wait 30 seconds and then set your pot directly on the can.
- To extinguish the flame, you can make a stove extinguisher by simply using a bigger can of cat food. Use the cleaned, emptied, bigger can to set on top of your stove to extinguish the flame. You can also just use a clean pot to set over the stove or pour water on it.
If your backcountry cooking consists of boiling water, then the cat stove should work great for you. If you are interested in simmering your food in your pot, you should make the soda can stove.The soda can stove requires a bit more supplies and effort. If you are interested in learning this type of do-it-yourself stove, visit this site for all your do-it-youself stove needs.
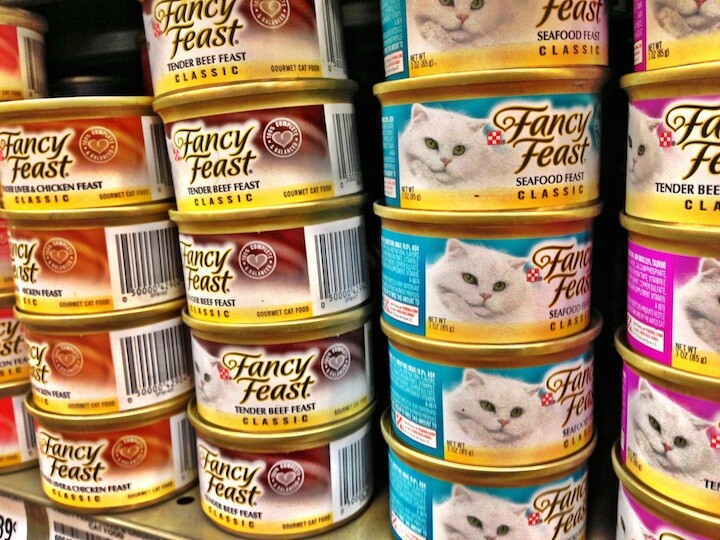
Any cat food such as the one’s pictured with do. Photo: © Don DeBold – Flickr
2. Pot Cozy
A pot cozy is a great little piece that will compliment your DIY cookware nicely. The cozy keeps food warm and allows you to hold a hot pot. It also helps lower your pack weight by conserving on fuel.
What you will need:
Car Sun Shade made of Reflectix
Duct Tape
Scissors
Ruler or measuring tape
Cooking Pot
Permanent marker
How to make:
1. Measure the height of your stove.
2. Cut a strip of of sun shade the same height as your stove. Make the strip’s length just a tad longer than your pot’s circumference (around). The strip should fit around your pot snugly but not too tight. Tape the strip’s ends together with duct tape.
3. Fit the strip around the pot. Next, using the permanent marker, trace a circle in the remaining car shade, using the bottom of the pot (with the strip around it) to make the base of the cozy.
4. Cut the circle out and duct tape it to the cozy strip still on the pot.
Now, you can stop here or make a lid. To make a lid, use the remaining car shade to to create a smaller cozy about 2.5 cm tall to fit around your pot cozy.
How to use:
There are two methods to utilize this cozy. You can keep cooked food warm or even conserve on fuel by boiling water, adding food, removing the pot from the stove, and placing the pot in the cozy. Let it sit for 15 minutes or so to cook the food. The second method is applicable if you add boiling water to a bag of dehydrated food. Just let the bag sit in your pot and the cozy to keep the warmth, especially helpful in cold weather.
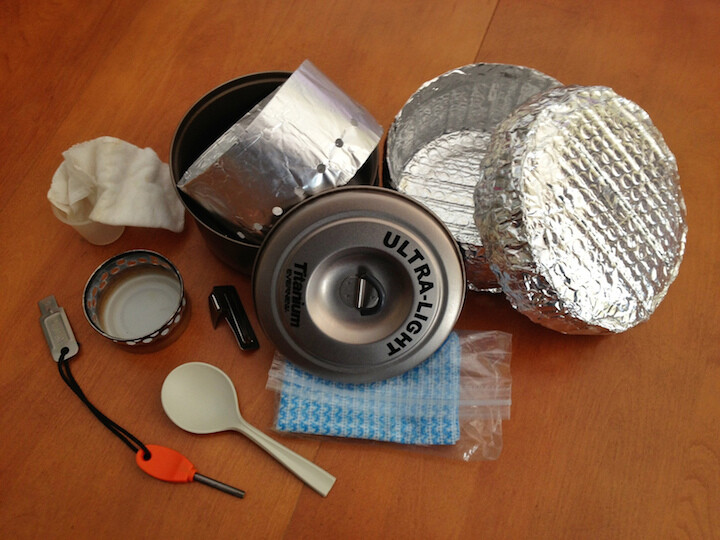
Evernew Ti .9L pot with cozy, windscreen, Fancy Feast stove, Light My Fire sparker, Lexan spoon and a measuring cup and cloth. Photo: © Gronkca – Flickr
3. Pot Windscreen
A wind screen keeps your cat can stove’s flame lit and warm.
What you need:
Heavy duty aluminum foil or aluminum flashing (disposable bake pans are made of aluminum flashing)
Scissors
Handheld single hole punch
Ruler or measuring tape
2 small paper clips (or metal bobby pins)
How to make:
1. Set your pot on your stove and measure from the ground to wherever you would like your windscreen to stop. If you made the cat can stove, your windscreen will most likely be 3 or 4 inches (8-10 cm) tall.
2. Cut an aluminum strip the same width as the height you would like the screen. The length should fit around the stove and pot nicely but not too close. The point is to cover the entire stove to prevent wind from getting to the flame. If you are using aluminum foil instead of flashing, you will have to do several layers to make a sturdy screen.
3. Use the hole punch to punch a row of holes around the bottom of the windscreen, spacing the holes 2.5 cm apart.
How to use:
Use the paper clips or bobby pins to keep the screen’s ends together around your stove and pot. The paper clips make the screen easy to disassemble.
Although not truly necessary, if you are interested in making a pot stand/wind screen combination, here is a do-it-yourself guide.
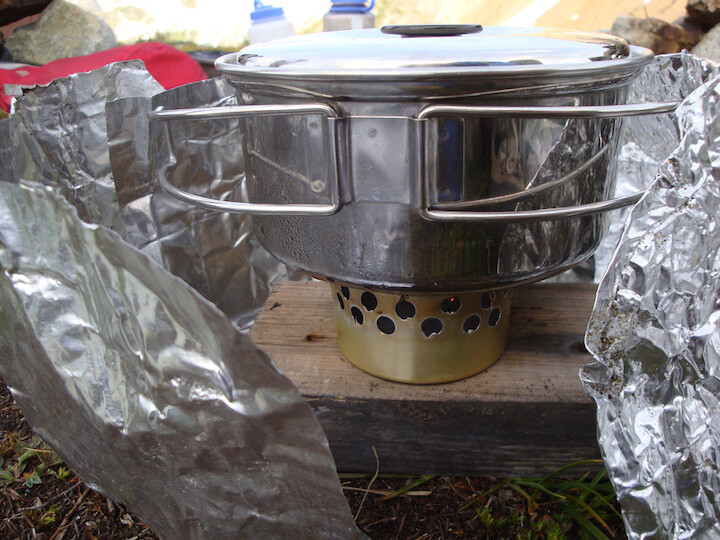
Aluminium windscreen around a Super Cat alcohol stove. Photo: © Su-Laine – Flickr
4. Dehydrated Food
Dehydrating your own food is a great way to have lightweight and cheap food for your next backpacking adventure. This project would be a lot easier if you owned a dehydrator but a conventional oven will work just fine. You can dehydrate a variety of fruits, veggies, and meats. The instructions will depend on what you are looking to dehydrate. Your backpacking meals can truly be catered to your taste. Also, dehydrated foods only need boiled water, no cooking is necessary, making things easier for you at camp.
What you will need:
Food
Oven or Dehydrator
How to make:
1. Use only the freshest ingredients. Avoid using any bruised or overripe fruits or veggies.
2. Clean and evenly chop your veggie or fruit. Make sure your food is all the same size so that it all takes the same amount of time to dehydrate. Some veggies require blanching before dehydration.
3. If you have a dehydrator, consult the owner’s manual for drying times. Expect 8-12 hours of drying.
4. If you are using an oven, you must set it to the lowest possible temperature (140-170 degrees Fahrenheit, 60-75 degrees Celsius). Keep the door propped open with a kitchen towel so that air can circulate and heat can escape if it does get too hot. The recommended dehydration time will depend on the food.
5. After your food has dried in the oven or dehydrator, place in a sealed jar for a week. Occasionally shake the jar throughout the week. If you notice condensation has built up inside the jar, this means your food still needs time to dehydrate.
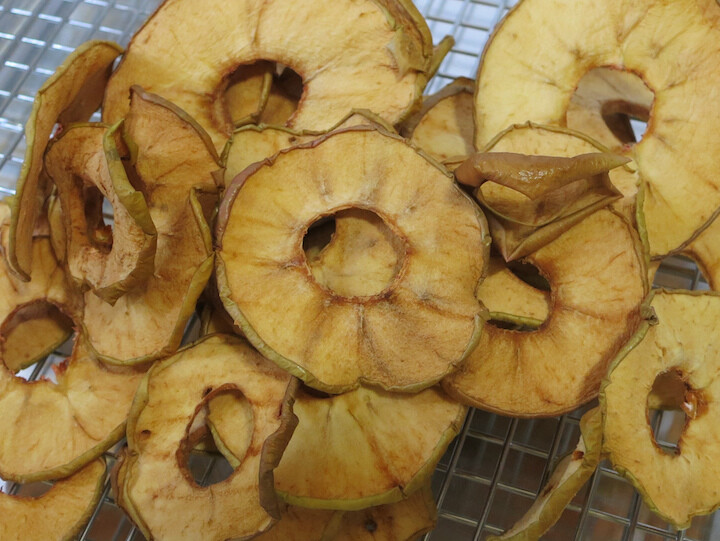
Dehydrated Apples. Photo: © Mike – Flickr
A hot meal at the end of long day in the backcountry can boost your spirits and soothe your soul. You don’t have to pay much to get the cookware and food that your pack needs and your body wants. However, if you don’t have the patience for all this fuss but unsure of what stove to purchase, check out our reviews of the JetBoil stove and of the MSR Whisperlite stove.
Is there any other gear you would like to do-it-yourself? Tell us in the comments below!
Sources:
http://www.thesodacanstove.com/alcohol-stove/cat-food-can-stove.html
http://frugalliving.about.com/od/foodsavings/ht/Dehydrate_Foods.htm
http://www.ehow.com/how_4964887_dehydrate-food-oven.html
- 6 Ways to Avoid Tick Bites While Summer Hiking - June 21, 2017
- 8 Affordable Mother’s Day Gift Ideas for Outdoorsy Moms - May 8, 2017
- Best Hiking Watches Under $100 - April 26, 2017
We write rarely, but only the best content.
